Thursday, October 27, 2011

BOOTIE

i used KATES ABC'S and totally 'lifted' this card from the august edition of CRICUT MAGAZINE.  great magazine!  i used HELMARS LIQUID POP DOTS for the first time....good stuff! 

thanks for stopping by.  feel free to leave a comment and, or, follow me.

(((hugs)))

Monday, October 3, 2011

BELIEVE

i totally 'lifted' this project from grace tolman in the cricut holidays latest edition.
this is 'my' take on it.  i'll make a few more for my girls just cause i think it's a lovely banner.  it won't take up too much room by hanging it vertically. 


i used MOTHERS DAY BOUQUET for the scalloped circle cut at w-3.78", h-3.59"
i then cut the circles at w-3.14", h-3.00"
then using STORYBOOK i cut the letters 'believe' at w-1.38", h-2.53"
i used tim holtz 'vintage shabby' blue paper and matted it onto kraft and also used the kraft for the letters.  with a slotted punch i punched the slots at the top and bottom of each circle, then ran my ribbon behind, before glueing onto the kraft scalloped circle.  i have a rather large stash of home-made and bought flowers.  i dug into that stash and found the ones i thought matched up well and every other letter has a cute flower.
 i really like how it turned out.  
 it's approximately 30" long and is perfect for a narrow space.

thanks for stopping by to take a look.

(((hugs)))


Saturday, October 1, 2011

OCTOBER 100+ BLOG HOP

you should have come from sharons. 


i've been super busy preparing for my sons upcoming wedding in october.  i'm happy to share a few things i've made for the occasion.  although there is more to come, this is all i'm 'allowed' to show you for now.  i hope i've inspired some of you, and mostly, i hope you enjoy!


using BLACKLETTER:
 i created stencils from vinyl to etch the wedding partys intial of their last names. 
it's difficult to pick up the letters in the picture and i've even put a colored napkin inside,
hoping it would show up better.


secondly, using GEORGE, WALK IN MY GARDEN and SONGBIRD:

i made each of bridal party their own placecards. i'm pleased with how they turned out.
the mat was from georg, the font is songbird and the oval is a
spelllbinders petit ovals large.


thirdly, using BASE CAMP and STRAIGHT FROM THE NEST:

i made a rather large, 10 1/4" banner.  the 'congratulations' alone will be approximately 10',
therefore because of the weight, we will have to string it up in segments.
i don't think that will be too bad.  it will take up a whole wall. 
i will post pictures of everything in its' place at a later date.


a close up of justin & nicki


another banner i made using BIRTHDAY BASH and BASE CAMP for the font:


using SWEETHEARTS and GEORGE: 
i made my infamous little treat boxes filled with hershey kisses.  i cut the triangle mat from GEORGE.


 there are no carts involved with this project.
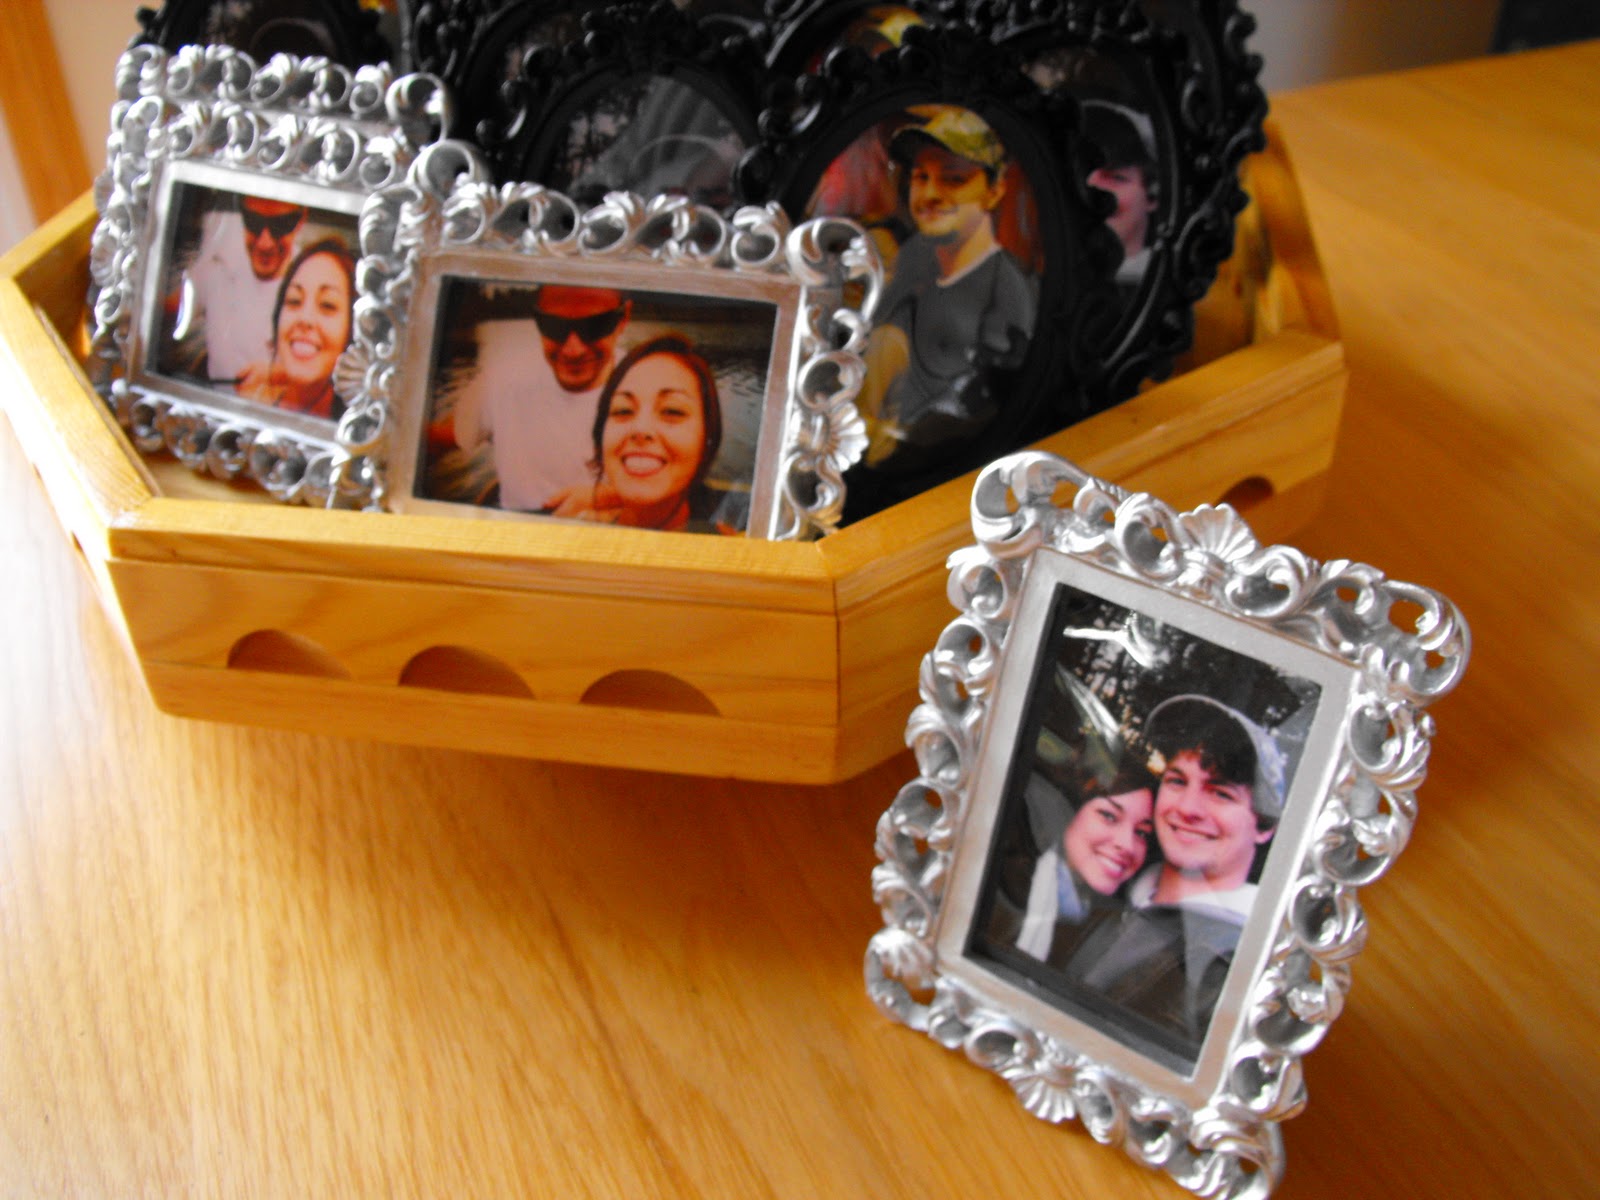
i just wanted to show you how these $1 picture frames from michael clearance can be used
in addition to your table decorations.  i think they add a million bucks!


for the rehearsal dinner i made a formal greeting for the guests at the entry of our banquet room.
computer generated and an inexpensive but elegant frame, (another gift for the couple).
i cut 'elegant flourishes' from tim holtz bigz die in my cuttlebug to surround the greeting.


i'll scatter these leaves made using ART PHILOSPHY on the banquet table.


these were so easy to stamp.  i just left them on my mat and stamped before taking them off.


lastly. i made this sunflower topiary using the cuttlebug daisy die. 
i'll have a hard time parting with this.  it's absolutely stunning in real life.  this is not the vase i'll be using.  i will purchase a brown vase with a narrow opening, if you can visual.  this will go on the head table at the rehearsal dinner.  later, nicki can use this as a centerpiece in a vase, or hang with the ribbon i've attached.  i hope she likes it!  if she doesn't, hmm, i know where it can stay!  (hee hee)


or, she can hang it.


that's it for now folks.  i hope you enjoyed what i showed you. 
it means alot to me to share and hear what you have to say.
i'd love to hear what you think and if you have any suggestions.

next, hop on over to laurie and see what fantastic projects she has to share!

the lineup:

24. Gayle Schrader- http://gscraptime.blogspot.com
30. Lisa Newton-Orensky - www.allmadebylisa.blogspot.com
32. Kat http://katscrapfever.blogspot.com/     YOU ARE HERE!

post/follow if you would

thanks so much

(((HUGS)))

Thursday, September 8, 2011

congratulations to: SAMANTHA SICKLES for winning the PRESERVES cartridge on my 100 followers. 

Monday, September 5, 2011

MY FIRST 100 FOLLOWERS

i'm celebrating my first 100 followers.  not quite there yet, but soon...real soon!  let's have a give-a-way!
comment below for your chance to 'win'.  once i hit 100, i will draw from the comments below....  you have until 9 a.m. tomorrow morning to recruit some followers and have them also comment.  one comment per person.  i will pay to ship 'PRESERVES' cartridge.  good luck and thank you all for commenting and following me. 

Friday, September 2, 2011

SEPTEMBER 100+ BLOG HOP


i hope you just arrived from Karey http://www.creativecraftcorner.com  if you didn't and came here by accident, welcome to my world.  if you'd like to start at the beginning of this hop.  here is Erica:  http://mycricutcraftroom.blogspot.com

because of the upcoming 'HALLOWEEN' i chose these 3 carts to play around with:
OCTOBER 31st
HAPPY HAUNTING
PUMPKIN CARVING

i've decided not to include sizes as these pics are all arbitrary.  however, i may make a few suggestions along the way, as some cuts just don't work well under 4".  in particular, this mansion, which i adore from OCTOBER 31st.  one of my favorite layouts just waiting for 3 pictures.....in about 2 months.


...and my chief of staff and editor...


actually, 'boo boo' puts a hand in almost everything i do...he's such a loving little brat...(he's very lucky i like him)...anyway he likes to put his 'stamp of approval' on all my halloween stuff like this altered composition book i made with:  HAPPY HAUNTING.  these are fun and easy and very inexpensive to make.  this one is going to a special teen i my life.


my next cartridge i used:  PUMPKIN CARVING is a fun cart i use alot for embellishing my cards and layouts.  i haven't made too many halloween cards yet this year, but rather i chose to make magnets instead. 


i made orange and black, then black and orange.


i think these will make cute little 'treats' for the little goblins bags.

thank you for stopping by.  your next stop is Lezlye  http://lezlyes.blogspot.com  i  hope you've enjoy your visit. feel free to follow me and leave a comment.

                                                                         (((hugs)))

Thursday, August 18, 2011

WEDDING SHOWER INVITATION

you should have arrived here from pats place: http://www.micraftygal.blogspot.com


i have the pleasure of hosting a shower for my daughter in law to be this september.  i'm so excited, i get to make the decorations, and just get involved.  i love it.  more things i'll share later, but mostly i'd like to share with her first before ya'll.  i'm sure you understand.  but this invitation, i had plenty of help from my grandkids.   i just can't seem to keep them little fingers out of my craft room.  especially when i have 'important projects' i'm working on.  anyway.......................................i'm sure nicki won't mind me sharing this 'one little project'.


i have several carts with umbrellas, but i chose this one from 'SWEETHEARTS' because of the delicate little 'thingys', heck i don't know what you call them...but they're very feminine and just plain pretty.  i cut the umbrellas on my gypsy w@3.61 and h@2.76
bridal shower was cut w@3.73 and h@2.05 
i cheated a little, and don't recommend doing, but my emergency was, i only had one sheet of this pretty pink background paper.  it was perfect for this project.  it's all about 'love- script' sweet sentiments.  so...this is the naughty, but shhhhh don't tell anyone.  i cut this from a 12"x12" sheet a piece @ 8 1/2" X 11".  i scanned it and printed off on white cardstock what i needed.  i'm sorry if you made this paper, but i bought it years ago, don't know where i got it from.  and do you really think i'd find it if i went shopping???  not!  so a crafter had to do what a crafter had to do.
thanks for taking the time to visit.  i hope you enjoyed my invitation. 

oh...before i forget, i used a teardrop hand punch for the raindrops.  after all, 'IT IS A SHOWER'.
(((hugs)))  

your next stop is: autumns place.  http://autumnsbuggycreations.blogspot.com


Tuesday, August 16, 2011

TRICK OR TREAT? (beware opening this little treat, or is it a trick box?)

i couldn't help myself.  i love making these little guys, especially for halloween.  change the theme, color and you have a cute little christmas, valentine, birthday or mabye even a little 'wedding favor'...hmmm, not gonna say anymore!   follow along and i'll show you just how easy they are!  you'll need a scoring tool for this job.
you can get 2 of these from one sheet of 8 1/2" x 11" good (i like heavyweight) cardstock. cut two, 4" x 8" from one sheet.  score @ the 4" (halfway) mark.  then with a pencil, mark the two ends @ 2" (halfway) mark, and score from point to point. ref. 2" mark to the edge of the center end mark, as shown above.  fold your flaps you created into each other as shown and use a small punch to create the hole for threading the ribbon through.


i created the triangles on my gypsy using george.  i unclicked the little chain link under the size and made the triange h @ 3.75 x w 3.75 and can cut 8  on one sheet of black (again heavyweight) cardstock.
i then used, (sorry, no cricut here) the cuttlebug 'pumpkin spice' die and cut each pumpkin 2 times, once in orange, again in green, then trimmed to match.  after gluing the green on, i embossed with the folder provided with this set.  i can't tell you how many pumkins i've made with this set.  a must have! (in my book!)

fill with treats...er ...i mean (tricks) tie your ribbon on and there you have it...
i hope you enjoyed this mini tutorial, or rather, i hope i explained it well enough for you to understand. have fun making these and let me know when ya'll got some made so i can come visit you at your blog.

(((hugs)))

thanks to erica for the perfect fiber used to tie this lil treat together.

Friday, August 5, 2011

SPORTS MANIA & BLACKLETTER & VARSITY LETTER 100+ HOP

you just came from LEZLY's http://lezlyes.blogspot.com/sweet

even though my youngest of five children, twin boys graduated from high school 5 yrs ago, i (we) still attend sporting events when it's home.  i miss those cold football games with a thermos of hot chocolate, or ......cider with a little surprise.  we don't do much of 'that' anymore, but still love to see the kids out there in their varsity jackets bringing us some fond memories of yesteryear.  i like to make little mementos for the local boys who some still call me mom.  and for those who don't know me, well their moms can buy these from me for their own scrapbooks.  i've made a few of our area schools whom we compete with 'to the death', or so the kids say...here are a few:  cut from SPORTS MANIA @ 5", you can also put a magnet on the back for your fridges!  the letters are punched from an alphabet punch set.  the highschool letters are cut from VARSITY LETTER @ 2".  layering is so easy.


next, i made a layout of my son and his fiance'.  there will be a big 'lighthouse' wedding.....oh, i'll tell ya'll about that later, right now, this is just one of my favorite pics of them.  they both love the outdoors and i wanted to make something with neutral, but outdoorsy and glamerous at the same time.  that proved to be a challenge, but i think using the frames from BLACKLETTER made it much simpler than i'd expected.  cut on my gypsy @w 9.11 h 9.59, i reduced the inside frames smaller to fit around the 5"x7" picure.  doesn't really matter what the size is as long as you can hide the white border from the actual picture.  i chose these colors to tie in the pics and the feel of outdoors.  a few rubons, tim holtz elegant flourishes, martha stewart elegant fence border punch, (hard to see along the edge) but it's there. a couple of branch punches and some primas from ?  note the flower centers.  i even added a little 'fiber' to the diet...some bling, and there you have it.  easy peasy nice and easy!  (my grand-daughters favorite saying)....and ya'll thought i was gonna do the old english letters from this cart?  HA!  i fooled ya didn't i?  i thought it turned out nice.  hope they'll like it!


here's a close-up of the fibers in the flower centers


i hope you enjoyed my pictures along with everyone elses along the way.  i'm happy you stopped by. i would love for you to leave a comment, and if you would, but don't have to, become a follower.  thank you for stopping by:  your next stop is JENNIFER:  http://mybusycraftylife.blogspot.com

                                                                      (((HUGS)))

Tuesday, July 26, 2011

CIRCLE MEET-UP in Mason, Ohio


our full day of cropping at Archivers.


i finally got to meet Mr. Cricut himself. 
(or is he a she?)


the circle crew:
kat-sue ann-cricut-princess bella-erica-amanda-ricki

thanks for stopping by!

(((hugs)))


Saturday, July 23, 2011

CHRISTMAS IN JULY

first off, christmas is my most favorite holiday cards to make.  they're easy, fun and most of all, just plain 'no-brainers'.  A MUST IN 'MY' CRAFTROOM!  if you have the right colors, papers, cuts, they just sort of 'come together' all by themselves. so this challenge was my choice, or rather...chosen for me?

simply said, the paper makes the card.  i chose these patterns because of their neural look.  the cut makes the whole statement and you don't always need bright colors to 'say what you mean'.  cut from my gypsy using 'INSPIRED HEART' @ width-5.11" height-3.00 for a standard A-2 card.  the wisemen were cut from a metallic gold by recollections and matted. 


on the other hand...this 'pink' definately makes a statement of it's own.  not bright, but you know it's meant for 'you'.  for my single gal friends i thought this would be a perfect card, (i also made this in blue) for the single men in my life!  the inside sentiment is what inspired me to make this.  "from our house to yours" by stampendous...appropriate, don't ya think?  outhouse is cut from 'CAMP OUT' on my gypsy.  width-2.63 height-3.59 from two different shades of pink.  i used martha stewarts branch punch for a little green.  hand cut the snowdrift.  both the drift and white mat are run through the cuttlebug with the 'snowflakes' embossing folder.  i stickled the snowflakes and set aside to dry before matting them on the pink.  i popped up the drift , stamped 'merry christmas' and punched with an oval punch and popped that up as well.   i hope you were refreshed from this heat with a little 'winter' fun. 

thanks for stopping by!  (((hugs)))

Monday, July 18, 2011

WORD BOOK ALBUMS

i had a few requests to post this on here to show you how i made this.  although being simple, it took more thought than i had planned.  my next one i'll say, will be much simpler because i won't be 'wasting all that energy thinking needlessly'.  i used 4" x 12" double sided self adhesive chipboard.  i'm telling you, this stuf is the 'cats meow'.  peel, stick and trim.  done!  love it!  i cut the chipboard, with both sides decorated and used a NEW mat.  after a few adjustments these are the settings i used on my gypsy:

speed @2
pressure @4
multi cut @ 2
blade depth setting in the holder @6 with the deep cut blade.

because this is a 4" x 12" chipboard, i designed the album to be slightly smaller than the 4".  placement on the mat is 'CRITICAL' in order for the cuts to be within the chipbooard.  i did a trial cut on cardstock for each page just to make sure it worked.  i used: George for the rectangle welded onto the letters which came from Base Camp.  these are the only 2 carts i used except for the embellishments.  that you can use/do whatever you want.  i also cut the letters out again, hiding the inside contours for the back of each letter so as not to 'peek' at whats behind.  i hope this is helpful.  if you have any questions, feel free to ask.  i hope you enjoy this.  now lets see if i can post the pictures in order.


and a big 'SHOUT OUT TO ERICA' and 'THANK YOU' for my wonderful cropodile!
i love it!  if it weren't for this, i couldn't have punched the holes for the rings. 
thanks for looking and i hope you leave me a 'kind word'. 
(((hugs)))

Monday, July 11, 2011

YAY! I GOT AN AWARD

my friend amanda sent me this award....ain't he so stinkin cute?  thank you amanda.  you can visit her blog right here.  while you're there, why don't you follow her too?  http://craftsbyamanda.blogspot.com


...now i'd like to pass this along to five more friends:
 

thanks for stopping by, and i hope you can leave a comment and follow me too!
(((hugs)))

Saturday, July 2, 2011

Their Wedding Card!


What is a wedding without a card?  I made this especially for Erica and Mike.  the card base is (cut 2) from 12x12 @ 5 1/4 x 11 1/2.  you'll have (two) cards.  you will need a 6" square envy for this size card.  i used stampin up 'in color pattern stack'.  i used 'lacey labels cricut cartridge from my gypsy and cut the white mat @ x=5.50, y=5.60, then cut the pattern paper @ x=5.25, y=5.25, cut the heart @ x=4.69, and y=3.94.  i embossed the bg to the heart with 'victoria' folder.  i cut the flower from 'mothers day bouquet' cricut cartridge, @ x=1.88, y=1.71.  bent and folded the leaves as you see.  i used a stampin up 'wedding words' rub-on.

thank you for looking, and visiting.  what a wonderful day to have a wedding.

NEXT PERSON:  Kassidy http://inkingitupcrazy.blogspot.com
In keeping with the theme.  My son is getting married this October and I will be 'helping' (actually) 'making', many of the decorations.  One, which I'm extremely proud of and excited to show you, is the flower girl 'BOUQUET'.  this was made entirely with the Cuttlebug Quilling Kits.  I used the Daisy kit to make this.  I have approx. 65 flowers attached to a 4" styrofoam ball with pearl headed quilting pins.  I did wrap the ribbon and held in place with pins before the flowers. I may yet, attach a white ribbon wrapped dowel and 'screw' into the ball, so the flower girl will have something to hold onto.  You can then, 'hang' or 'set' the ball in a vase when you're done with it.  I like how this turned out.


now please don't leave yet!  one more post and i'll share with you the card i made for Erica and Mike.

Love and Weddings

You should have come here from: Justina  http://justmycrafts.blogspot.com

First of all, I want to congratulate Erica and Mike on their wonderful Wedding Day.  I am Lucky and Honored to be invited to partake just a little, in this Wonderful occasion!  Thank You Erica, with all my heart!  I wish you and Mike a Lifetime of Love and Happiness.  I have celebrated by making a layout of my son and his bride on 'their' special day, Dec. 15, 2007.

a childs year cartridge-12x12 mat, 'me & my big ideas specialty paper, silver'-rounded mat cut @12"-scalloped mat cut @ 7" with dcwv embossed paper stack with an oval cut from the center, multi-cut 2 times, because the paper is embossed-stampin up 'wedding words' rub ons-ribbon is metallic ordornments by EK success-December is Maya Rd. calendar set-bling is studio-18.

now, please don't leave yet.  theres more...(two more posts on wedding themes)

Friday, June 24, 2011

Posted by Picasajust a little fun in the backyard with my hubby, my twin boys and their gals, my daughter, and grandson.  the furbabies are cousins...(at least, that's what we call them.)